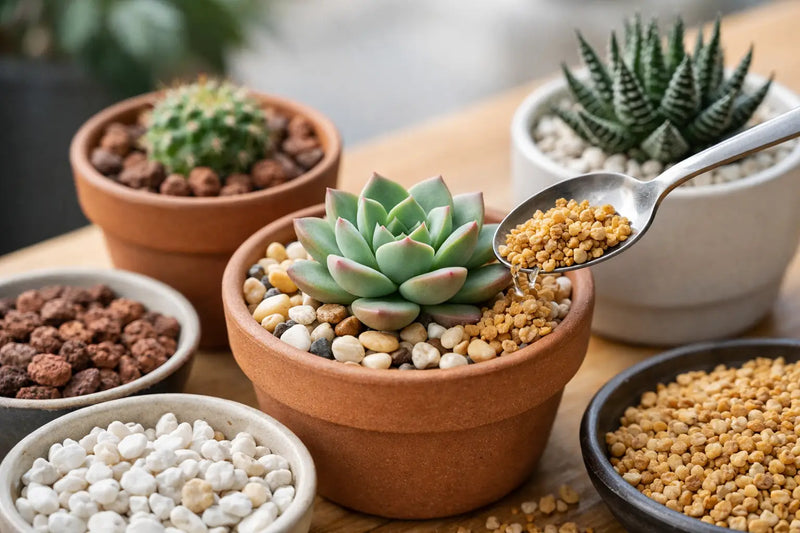
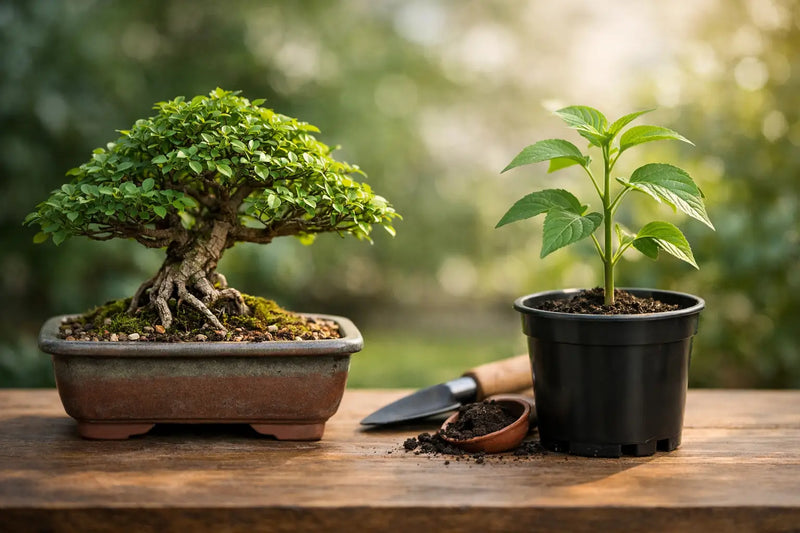
A handmade planter with a halo of mineral stains on the shelf is not always “character.” Sometimes it is a pot quietly pulling water through its clay body and onto your furniture. Learning how to seal ceramic planters is less about coating every pot in sight and more about protecting the right surfaces without turning a good home for roots into a swampy little prison.
The rule is simple: respect the pot, respect the drainage hole, and do not treat a collectible handmade vessel like a plastic nursery pot. A little judgment goes a long way.
First, figure out what kind of ceramic planter you have
Not every ceramic planter needs sealer. In fact, sealing the wrong pot can be pointless at best and a finish-ruining move at worst.
A fully glazed ceramic planter is already largely sealed. Its shiny, satin, or glassy glaze creates a nonporous barrier across the finished surface. Unless there are hairline cracks, unglazed areas, or a suspiciously porous foot ring, there is usually no reason to add another product. A sealer can leave a cloudy film, change the sheen, or collect dust in a way that makes a beautiful glaze look cheap. No thank you.
Unglazed terra cotta, low-fired earthenware, and some handmade stoneware are different. These pots can absorb water through the walls, especially when they are used outdoors or planted directly. That absorption can cause damp rings indoors, efflorescence - the white mineral bloom that creeps across clay - and greater risk of cracking during freezing weather.
Also check whether the pot is meant to be a planter or a cachepot. A cachepot is decorative and typically has no drainage hole. It is designed to hold a nursery pot, not to be filled with soil and watered directly. If you love a handmade vessel and want zero water drama, using it as a cachepot is often the cleanest answer.
What sealing can and cannot fix
Sealer helps reduce water absorption and surface staining. It can make an unglazed planter easier to wipe down, protect nearby wood or stone, and slow the mineral residue that develops when hard water moves through porous clay.
It will not magically repair a crack, correct a badly made pot, or make a planter frost-proof. If water is escaping from a visible crack or a poorly attached drainage-hole area, stop planting in it. A proper ceramic repair may be possible, but a clear sealer is not a structural fix.
Sealing also changes a pot's relationship with moisture. Porous clay can breathe and wick water from the root zone, which is useful for cacti, succulents, and plants that hate sitting wet. Block too much of that porosity, particularly on the inside, and the soil may dry more slowly. That is not automatically bad for a thirsty fern, but it can be a real problem for a cactus collection full of real pricks.
Choose a sealer that does not look like a craft accident
For most unglazed ceramic planters, choose a clear, water-based penetrating sealer made for porous stone, masonry, terra cotta, or ceramic. The word “penetrating” matters. It sinks into the material instead of leaving a thick plastic-looking coat on top.
A breathable, matte-finish formula is usually the best fit for handmade work because it preserves the texture, clay color, and subtle variation that made you want the pot in the first place. Some sealers darken clay slightly or create a wet-look finish. That can be cool on a rugged outdoor pot, but test it before you commit on a one-of-one piece.
Avoid paint-on waterproof membranes, high-gloss varnish, and heavy epoxy coatings for the interior of a planted pot. They can peel, trap moisture behind the coating, and make the pot feel more like a sealed bucket than ceramic. They may also be unsuitable for direct contact with soil, fertilizer, or plant roots.
If the planter will live outdoors, select a product rated for exterior use and follow its temperature limits. A perfect coat applied in damp, cold weather is still a bad coat.
How to seal ceramic planters, step by step
Start with a completely dry, clean planter. “Completely” is doing serious work here. Ceramic that looks dry can still hold moisture in its walls, especially after being washed. Give it at least 24 to 48 hours in a dry, well-ventilated spot. A thicker handmade pot may need longer.
Remove dirt, old mineral buildup, and price-sticker glue with a soft brush or damp cloth. Skip aggressive scrubbing pads that can scuff glaze or burnish raw clay. If the pot has white mineral crust, gently clean it first and let it dry again before sealing. Sealing over the crust just locks the mess into place.
Before applying anything, test the sealer on the underside, inside the drainage-hole rim, or another hidden area. Look at it after it dries, not while it is still wet. Check for darkening, blotchiness, shine, or a chalky residue. Handmade clay bodies can be wonderfully unpredictable, and that is exactly why testing is non-negotiable.
Apply a thin, even coat with a soft brush, foam brush, or lint-free cloth, following the product directions. Do not pour sealer into the planter and slosh it around. That is the fast lane to uneven buildup and blocked drainage.
For a planter that will hold a nursery pot, seal the interior and exterior if the product allows it. For direct planting, the more plant-friendly approach is usually to seal the exterior only, including the bottom and foot ring, while leaving the inner clay surface available to breathe. If your main concern is a water ring on furniture, exterior sealing plus a saucer solves most of the problem without messing with the root zone.
Keep the drainage hole clear. Wipe away excess immediately and inspect the hole after the coat dries. If you need to clear a little buildup, use a wooden skewer or a small hand tool gently. Do not drill into handmade pottery unless you are prepared to sacrifice it to the ceramic gods.
Most sealers need one or two light coats and a full cure before soil touches the pot. Dry-to-touch is not cured. Give it the time listed on the label, preferably with good airflow, before planting or watering.
Drainage still runs the show
Sealing a pot does not replace drainage, and drainage does not mean tossing rocks into the bottom. A layer of rocks can create a saturated zone above it, leaving roots wetter than they need to be. Use a planter with a proper drainage hole, use a potting mix that fits the plant, and use a saucer that actually catches overflow.
For succulents, cacti, and bonsai, favor fast-draining soil and a conservative watering hand. Even an unsealed clay pot cannot save roots from dense soil and constant watering. For tropical houseplants, exterior sealing can be especially useful if the planter sits on wood, painted furniture, or a shelf you would rather not refinish next month.
If a collector pot has no drainage hole, do not force it into a job it was not built for. Keep the plant in a plastic nursery pot and drop it inside. You get the art, the easy watering routine, and none of the mystery puddles.
When not to seal a handmade pot
Leave the pot alone if it is fully glazed, has a finish you cannot test discreetly, or was made by an artist who provided care instructions that say not to seal it. Some surface treatments, stains, and specialty glazes do not play nicely with commercial sealers.
You may also want to keep an unglazed pot unsealed if you love the way it patinas. Raw clay records use: darkened water marks, soft mineral traces, and changes in tone. That lived-in look can be the whole point, especially with a weathered terra cotta collection. Put it on a saucer or tray, accept the patina, and let the pot earn its scars.
At The American Gringo, that distinction matters. A handmade planter is not generic garden hardware. It is part vessel, part sculpture, and sometimes the best care move is choosing the setup that protects it without sanding off its personality.
A sealed planter should still look like itself when you are done. If the surface suddenly looks glossy, plasticky, or weirdly darker, step back before coating the rest. Your plant deserves healthy roots, and your pottery deserves better than a DIY makeover it never asked for.