A handmade planter can make a plant look legendary. It cannot, however, magically rescue roots sitting in a swamp. Knowing how to layer potting materials starts with ditching one persistent bit of plant-world folklore: filling the bottom of a pot with rocks does not create better drainage.
That gravel layer may look tidy when you are assembling a new plant, especially in a beautiful ceramic vessel. But in a pot with a drainage hole, it often leaves water sitting higher in the soil, right where roots need air. The better move is less about stacking dramatic layers and more about pairing the right pot, the right mix, and the right planting depth. No other BS required.
How to layer potting materials the right way
For most plants in a pot with a drainage hole, the ideal order is simple: a breathable barrier over the hole if needed, potting mix, then the plant. The materials should support drainage throughout the root zone, not just create a gravel basement beneath it.
Start with an empty, clean pot. If it has one or more drainage holes, you are already ahead of the game. Set a small piece of mesh, window screen, coffee filter, or a curved shard of broken terracotta over the hole only if your soil tends to spill out. This is not a drainage layer. It is just a bouncer keeping the potting mix from escaping while water gets to leave.
Then add a little of your prepared soil mix to the bottom. Position the root ball so the plant sits at the same depth it did in its nursery pot. The crown, where stems meet roots, should never be buried under extra soil. Fill around the sides, gently settling the mix into gaps with your fingers or a chopstick. Do not compact it like you are laying a patio.
Leave a little space below the rim, usually half an inch to an inch depending on pot size. That watering lip keeps water and loose soil from rolling down your shelf, table, or favorite vintage rug.
Why rocks at the bottom usually backfire
Water does not move freely from fine soil into a much coarser layer until the soil is very wet. This creates what growers call a perched water table: a wetter zone of soil just above the rocks. Your plant’s roots do not care that there is a stylish layer of pebbles below them. They care whether they can breathe.
Rocks also take up valuable root space and make a planted pot much heavier. That is especially annoying with larger handmade ceramic planters, which already have enough presence without becoming a two-person lifting project.
If you want to use lava rock, pumice, perlite, granite grit, or coarse sand, mix it through the soil where it can improve aeration from top to bottom. That is the difference between a useful amendment and decorative geology with a root-rot problem.
Build the mix around the plant, not the pot
A dramatic hand-thrown planter deserves a plant that thrives in it. Still, the plant gets the deciding vote on soil texture. A lush tropical houseplant, a thirsty fern, a cactus, and a bonsai specimen should not be living in the same generic bag of mix just because the bag said “potting soil.”
For cacti and succulents
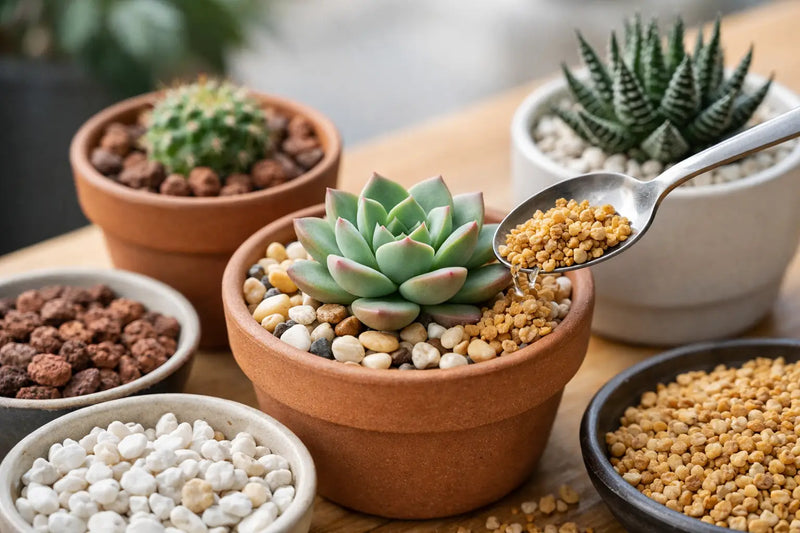
Cacti and many succulents want a fast-draining, gritty mix with plenty of mineral material. A reliable starting point is roughly half quality cactus soil and half inorganic amendment such as pumice, perlite, lava rock, or coarse horticultural grit. The exact ratio depends on your light, humidity, watering habits, and plant type.
A desert cactus in a sunny, dry room can handle a more mineral-heavy mix. A tropical succulent such as a jade plant may appreciate a touch more organic matter. The goal is a mix that becomes wet when watered, then dries predictably rather than staying cold and soggy for a week.
Skip a thick top dressing if you are still learning your watering rhythm. Rocks glued across the surface look clean for photos, but they make it harder to judge moisture and can slow evaporation. A loose layer of attractive gravel is fine if it is thin and removable.
For tropical houseplants
Aroids, pothos, hoyas, peperomias, and many common foliage plants generally prefer a mix that holds some moisture but still has air pockets. Start with a good indoor potting soil, then add chunky bark, perlite or pumice, and perhaps a little coco coir depending on the plant’s needs.
For aroids with thick roots, chunkier is usually better. Think soil as a framework, not mud. Bark creates gaps, pumice prevents the mix from collapsing, and organic material holds enough moisture for roots to drink between waterings.
If your home runs dry and sunny, do not overcorrect with an ultra-chunky mix that dries out every other day. Plant care is never one-size-fits-all. A mix that works in a humid greenhouse can become a high-maintenance headache in an air-conditioned apartment.
For bonsai and other precision plants
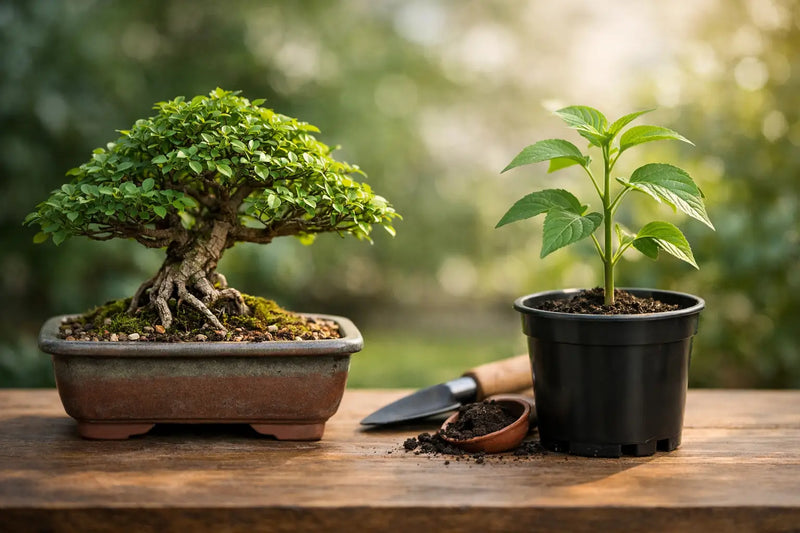
Bonsai soil is its own discipline. Most bonsai need a granular, stable mix that drains quickly while giving fine roots oxygen and a little moisture. Common ingredients include akadama, pumice, lava rock, pine bark, and other region-specific components. Avoid filling a bonsai pot with standard houseplant soil, which can compact and suffocate roots over time.
Because bonsai containers are shallow, planting depth and root placement matter as much as the mix itself. Use the soil system suited to the species and the grower’s climate. A juniper, ficus, and Japanese maple are not asking for the same setup.
What changes with pots that have no drainage hole?
A planter without a drainage hole is best treated as a cachepot: a beautiful outer vessel holding a nursery pot that does have drainage. This is the cleanest answer for collectible ceramics, shelves, and anyone who has learned the hard way that water stains are not a design feature.
Place the plant in its nursery pot inside the decorative planter. Take it out to water thoroughly at the sink, let it drain, then return it to the cachepot. If you need a little lift so the nursery pot does not sit in runoff, use a few small pot feet, a saucer turned upside down, or an appropriately sized riser at the bottom.
Do not create a false-drainage system by planting directly over several inches of rocks in a sealed pot. That setup can work only when you water with serious restraint and understand exactly how much moisture remains below the root zone. For most plant parents, especially with pricey plants or one-of-a-kind pottery, it is a gamble with ugly odds.
Match the pot size before you start layering
Even perfect materials cannot fix a pot that is wildly too large. When a small root ball sits in a huge container of wet soil, the extra mix dries slowly and raises the risk of rot. Most houseplants should move up only one or two inches in diameter at a time.
Some exceptions exist. Fast-growing tropical plants, large outdoor containers, and certain specimen plantings may need more room. But if you are repotting a compact cactus into a massive ceramic bowl because the bowl looks incredible, use a smaller nursery pot inside it or choose a plant with roots ready to occupy the space.
Also consider the pot’s shape. Narrow-bottomed forms dry differently than broad, low bowls. Thick ceramic walls can buffer temperature changes, while unglazed clay pulls moisture from the mix. Glazed handmade pottery generally retains moisture longer than terracotta, so adjust your watering accordingly. The pot is part of the growing environment, not just the outfit.
A clean planting routine for handmade ceramics
Before planting, inspect the drainage hole for glaze buildup or debris. If the hole is small, clear it gently rather than forcing roots and soil through a bottleneck. Add your mesh barrier, a base layer of the actual soil mix, and center the plant at the correct height.
Fill the sides in stages, tapping the pot lightly to settle the mix. Do not ram it down. Water once after planting if the plant is due for it, letting excess drain completely. If roots were damaged, conditions are cool, or you are working with a cactus or succulent, wait a few days before watering so any broken roots can callus.
A final top dressing can bring the whole piece together: black lava for moody cactus energy, pale gravel for a clean desert look, moss for moisture-loving tropicals, or nothing at all if the soil surface already looks right. Let the planter’s craftsmanship stay visible. Not every pot needs to be buried under decorative rocks.
The best planted pots look effortless because the care underneath is intentional. Give roots an airy mix, give water somewhere to go, and let that handmade vessel do what it was made to do: make your favorite plant look even better.